String with 2 rubber bands (thick and thin)and Paper clip
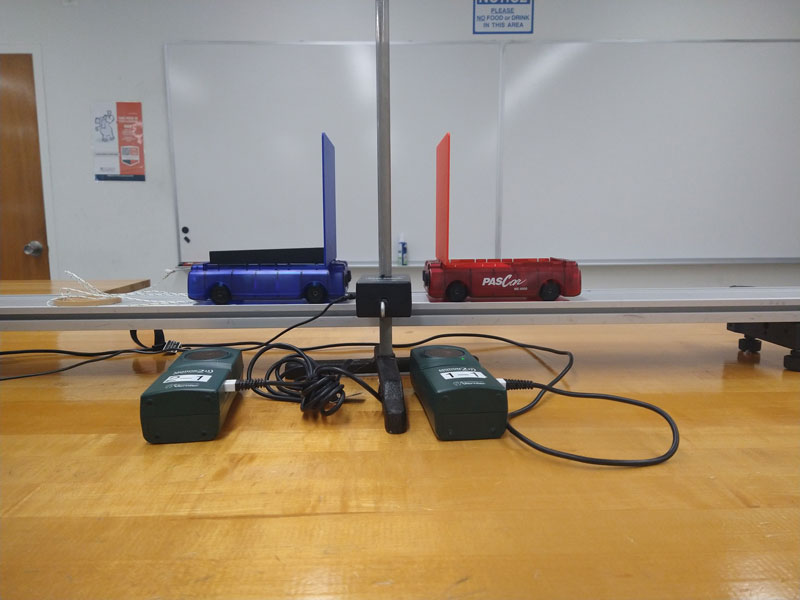
2 Motion sensors
2 Signal Bouncers
Shaved Black Bar Mass.
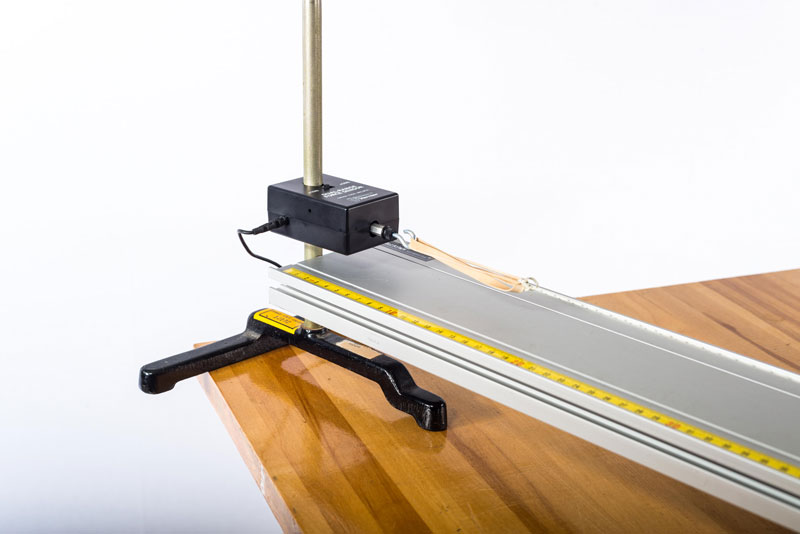
Force Sensor w/eyehook (NOT w/platform. Do not remove platforms from force probes! See lab tech.)
1 Short Lab Stand
Instructor Stations
None
Setup Instructions
Student Stations
Verify that all materials are present before proceeding to set up lab.
Place tracks at the station matching their labelled numbers with ruler facing toward students
For initial setup the 1st motion sensor should be connected to DIG/SONIC 1 and placed at the far end of the track with the cable wrapped around the track.
The 2nd motion sensor should just be left sitting on the table.
Run the rubber bands through the stop bracket and clip the paperclip onto the cart.
Set the stop bracket by the force probe about 25cm from the edge of the hook so that the thin rubber band can be extended sufficiently without going through the hole.